Medieval Crossbow Kyler
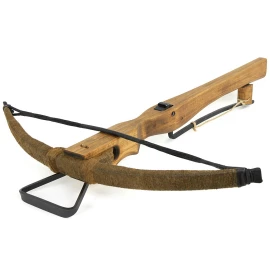
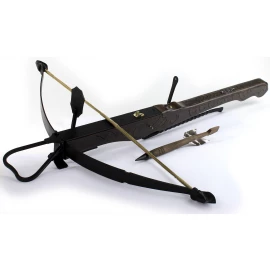
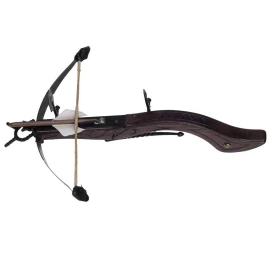
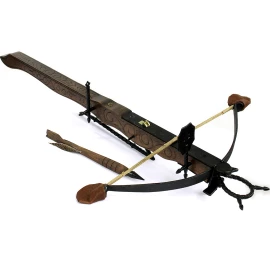
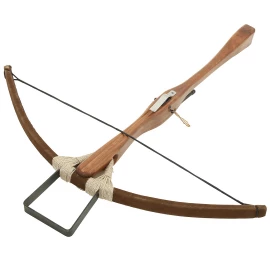
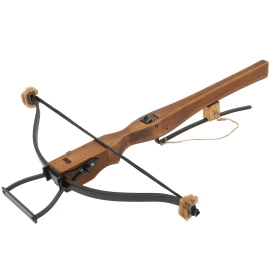
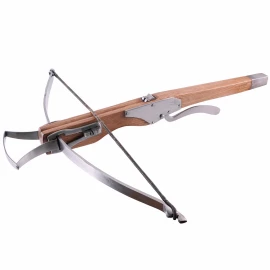
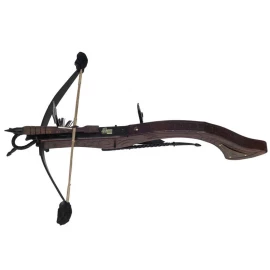
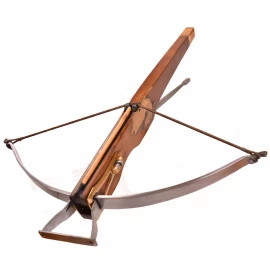
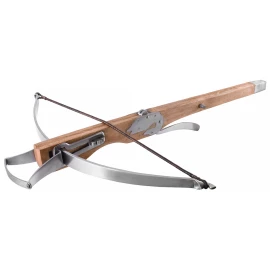
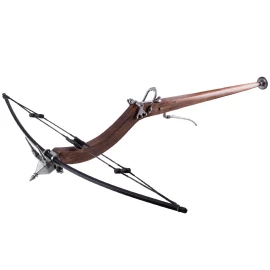
This crossbow replica was manufactured after the original from Konopiste. The tiller (stock) is made of oak wood and the lathe (prod) is made of glass laminate. The trigger mechanism and the stirrups are made of steel. The surface treatment was carried out in the traditional way after historical sources. The lathe is attached to the till by metal brackets. This model represents a transitional crossbow form from the wood to steel lathe. It is a simplified replica that complies completely with the purpose of re-enactment and exhibition. More information...
These variants are in stock
Medieval Crossbow Kyler
The use of crossbows in European warfare is again evident from the Battle of Hastings until about the year 1500. They almost completely superseded hand bows in many European armies in the 12th century for a number of reasons. Although a longbow achieves comparable accuracy and faster shooting rate than an average crossbow, crossbows release more kinetic energy and can be used effectively after a week of training, while a comparable single-shot skill with a longbow takes years of strength training to overcome the draw strength of the longbow, as well as years of practice needed to use it with skill.
Specifications
- 83cm total length
- 71cm length tiller (stock) made of oak
- 6x5cm tiller profile at the lathe (prod)
- 5,4*2.4cm tiller profile at the end
- 64cm width of the lathe
- the tiller (stock) is made in dark brown colour
- the rotary nut (catch) is made of steel and has a diameter of 4cm and a width of 2.4cm
- the lathe (prod) is made of wood laminate (ash wood + fibreglass) and is wrapped with hemp rope, its ends are covered with cowhide
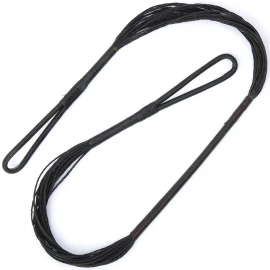
- the string is always constructed according to the selected draw weight. For the draw weight of 70kg it consists of 30 strands Dacron
- The lathe is 62cm long
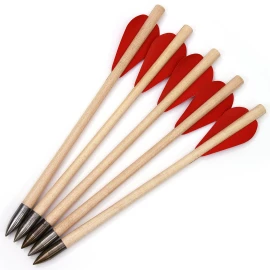
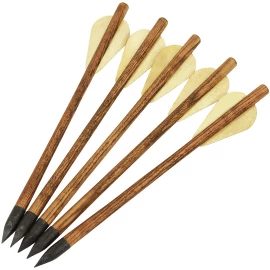
- Recommended arrow length 30cm
- Available draw weight 15, 35, 70 a 110 kg
- Draw length approx. 20cm (8 inch)
- Weight 2350g
- Made in Czech Republic
Please do not shoot from the crossbow without an arrow. This way you can damage the bowstring! The trigger doesn´t have a spring to return it in place after release, as the original did not have it either. The draw weight of the prod from wood laminate will not sink with the time, but the prod will break after 5-7 years of use. There is no need to remove the string from the prod when not in use.
Please read how to replace a crossbow string.
Maintenance of the crossbow
The crossbow requires no special care. The most stressed part is the string. It is recommended to wax it before each use - to extend its lifespan. If even one strand of the string is damaged or torn, do no shoot any longer and replace it with new one.
If your crossbow gets wet (in the rain), wipe it with a cotton cloth slightly and let it slowly (not at the radiator) dry. Then oil the metal parts with WD40 e.g. The tiller (stock) and prod serving are treated with varnish from pressed linseed oil. It is possible to renew the coating after some time, but it is not necessary or even not desirable. The crossbow finish (surfaces) get with time and use so called patina, which is firstly visually beautiful and secondly gives the crossbow a historical look.
Operation instructions
This crossbow is not a toy, you can cause with it serious injury. Read carefully these instructions!
- Check the crossbow before each use (bow, string, trigger, ...). Shoot only if it is completely flawless.
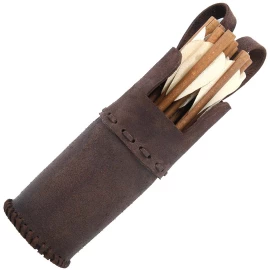
- Use only bolts supplied with the crossbow or those recommended by the manufacturer. The bolts (arrows) must not be damaged anyhow as well.
- Newer dry shoot (without arrows)! You can damage the prod or the string and incur an injury doing so.
- After drawing the crossbow, secure the trigger against unwanted shooting. Remove the safety chock shortly before intended shooting.
- Please never aim at people or animals. Be especially careful if small children or pets are present.
- Shoot at enough strong targets. Put the targets in front of a suitable background (slope, high wall, etc.). Bounced arrows can cause damage or injury as well!
- If you do not use the crossbow for a longer time or it is exposed to adverse conditions (e.g. high temperature in a parked car on a sunny day), remove the string from the bow.
- Treat the string with a suitable lubricant or wax to extend its life span.
- Deal with the crossbow carefully. Do not throw with it and do not put on it any heavy things.
- The use of this historical crossbow is at your own risk.
Comparison of two crossbows
The difference between the Gothic crossbow and the crossbow Kyler lies in the attachment of the lath/prod. The prods on both crossbows are made of identical materials (ash + fiberglass). If the prod breaks, it does not get splintered. Thanks to the glass fibres, the broken parts hold together.
We do not provide replacement parts for this crossbow. In case of damage you can send it to us for repair. The new lathe must e.g. be professionally placed on the tiller/stock. No visor / sight is installed on the stock. It would be historically wrong and it is to be aimed according to the arrow, which is placed on the wooden arrow rest. The arrow rest can be found at the front near the prod.
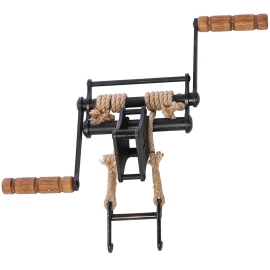
The Pulley Windlass to the crossbow is to be placed on the tiller end and removed again before releasing the arrow.
We did not measure the speed of the released arrow. However, experience has shown: the higher draw weight, the more slowly lath. A higher draw weight does not mean a higher arrow speed.
How to draw a crossbow
- Turn the nut to the locked (ready to fire) position and lock it with the trigger.
- Place the wooden anti-dry-fire safety between the trigger and the stock (tiller).
- Insert the tip of your foot into the metal stirrup at the front end of the crossbow
- With crossbows up to approx. 77lbs draw weight, the string can be drawn by hand
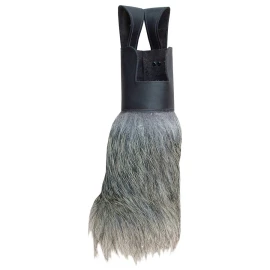
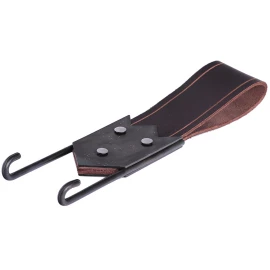
- For crossbows with a draw weight of over approx. 77 lbs you need a belt hook for cocking
- We recommend drawing crossbows with draw weights of over approx. 150 lbs with a windlass
- Make sure that the metal hooks of the respective drawing aid are symmetrically hooked onto the string, otherwise you could scratch the stock when tensioning
- As soon as the string sits in the hooks of the nut, the drawing/tensioning process is complete and the drawing aid can be removed
- Now you can insert the crossbow bolt, so that the flat end (or its nock) is snug against the string
- Remove the anti-dry-fire safety just before shooting.
- If you then decide not to shoot, use your hands or a drawing aid to release the string. Never dry-fire the crossbow (without an arrow/bolt), this could damage the crossbow bow!
We are here for you


