Step-By-Step Instructions: How to Disassemble (and Assemble) a Katana?

Disassembling a katana isn't difficult, however, it does require precision, and it is advisable to follow safety instructions, and to have a set of necessary tools. Learn how to take apart a Japanese sword and how to put it back together.
Contents
Why Do People Disassemble Their Katanas
Katanas need disassembling when you want to clean them properly, or replace some of their parts, for example, the sword the guard ( tsuba).
Samurai warriors in the old days often disassembled their swords after the battle: because it was necessary to remove traces of blood and other dirt from the blade and other parts of the katana, which remained on the weapon after the fight.
In times of peace, the samurai would sometimes leave the katana disassembled and only put it together when expecting to fight again. Today, the people disassemble their katana only when they want to clean it.
DID YOU KNOW... in ancient Japan, samurai warriors took much care and pride in their sword, as they considered the sword to be the “soul of samurai”? If you take good care of your Japanese sword, it will last for many years. Find out more about how to maintain your katana.
What Tools Do You Need
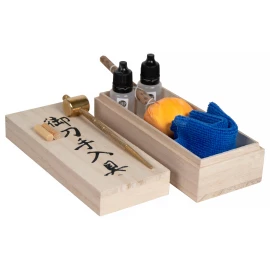
If you want to make (de)assembling and cleaning your katana easier, get a sword maintenance kit. This kit usually includes a cleaning cloth, a Mekuginuki peg hammer (used to take off the hilt rivets called menuki), special polishing powder, and finally blade oil.
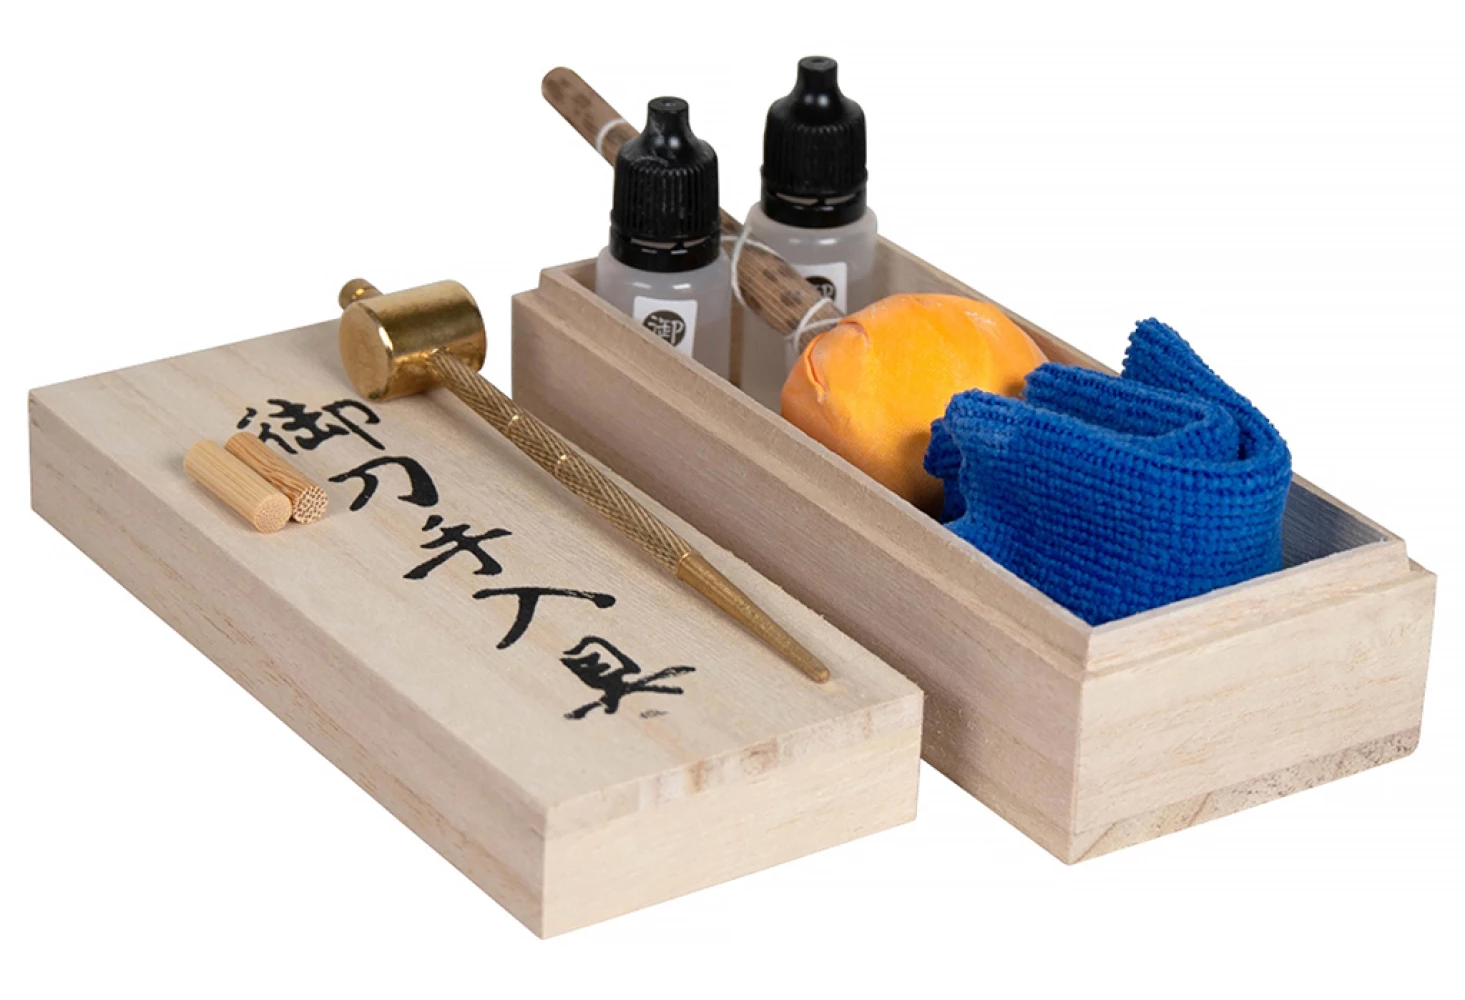
All the tools are stored in a small wooden box, which keeps all the tools together in one place.
Before buying a sword maintenance kit, make sure it contains all the tools you need to disassemble and clean your katana. There are kits available on the market from different vendors, but the contents can vary.
DID YOU KNOW... in addition to the maintenance kit, you can also get special textile gloves with rubber coating to protect your hands from injury? Protective anti-slip gloves come in handy especially when you are working with a sharp blade for the first time.
How to Disassemble Your Katana?
First, look at the picture below for a description of the different parts of the katana. Below the picture, you will find detailed instructions on how to disassemble your sword.
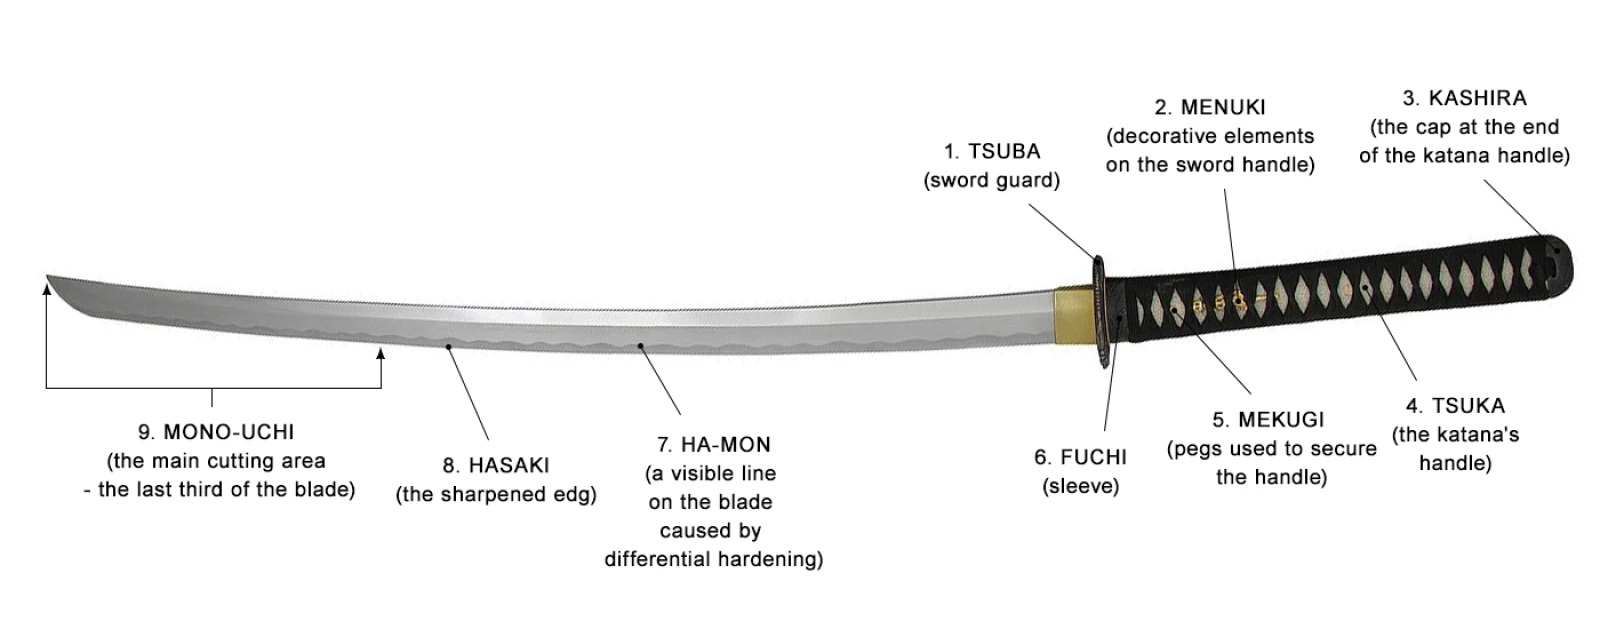
Description:
- Tsuba (sword guard)
- Menuki (decorative elements on the sword handle)
- Kashira (the cap at the end of the katana handle)
- Tsuka (the katana's handle)
- Mekugi (pegs used to secure the handle)
- Fuchi (sleeve)
- Ha-mon (a visible line on the blade caused by differential hardening)
- Hasaki (the sharpened edge)
- Mono-uchi (the main cutting area - the last third of the blade)
Step-by-step instructions for disassembling (and assembling) a katana:
First, remove the rivets/pegs ( mekugi) that connect the handle to the blade, using a Mekuginuki peg hammer.
Just like in the past, today's katanas typically have two rivets. Originally, this was for safety reasons: if the rivets came loose during battle, the blade could slip out the hilt and injure anyone within range - even its wielder. Therefore, some masters added an additional safety peg to the hilt when making katanas.
There are two ways to remove the rivets:
- Push with the peg hammer (with its handle) on the narrower end of the peg (it is shaped like a cone) and try to push the rivet out with pressure.
- If that does not work, remove the pin from the head of the peg hammer, and using the pin, tap the Mekugi out of the hilt. Use gentle taps with the hammer on the pin while doing it. Once part of the peg is out, just pull the peg out with your hand.
Hold the sword vertically, with the tip (kissaki) upwards and the blade edge (ha) facing away from you. Grasp the hilt ( tsuka) firmly with your right hand and then tap that hand downwards with the other hand. This will make the hilt come loose from the blade ( nakago).
Now you can put the katana down on a piece of cloth on the table and carefully remove all the parts and fittings ( tsuka, seppa, tsuba, habaki) from the blade. Put all of them in one place.
The disassembly is now finished. Once you are done with the maintenance, assemble your katana again, following the same steps (see above) in reverse order.
If you prefer a demonstration video, here is one for you below. It describes the whole process and gives you some additional tips.
Comments