How to (Dis)assemble a Take-Down Bow?
In some situations, disassembling your bow is the most practical solution, especially during maintenance, transport or at the end of the season. This will avoid unnecessary wear and tear of the bow parts. If you are inexperienced in archery, there is still no need to worry - you will not damage the bow if you follow the instructions and a few best practices. In this article, you will learn more about how to disassemble a take-down bow and how to put it back together.
Contents
Disassembled Bows Are Easier to Store and Carry
Disassembling your bow may prevent unnecessary damage and save costs for subsequent repairs. There are several situations in which you might want to take your bow apart:
- You need to replace one of the bow parts. When the bow is disassembled, it makes handling and replacing any damaged components much easier.
- You need to transport the bow. Especially if you or your bow travel long distances, the likelihood of damage during transport increases significantly. Putting your bow together with other luggage might be dangerous, but with a disassembled bow, the risk of damage is considerably reduced.
- You do not plan on using the bow for a longer period of time. When the season is over, for example, the chances you will not use the bow for months are very high. Even if you choose not to disassemble the bow completely, it is wise to remove the bowstring at least. By doing that, you will prevent unnecessary strain on the bow limbs and extend their life.
- You're traveling abroad. Some countries, such as the Netherlands, have very strict legislation that makes the possession or movement of bows in public spaces practically impossible. But even in other places, carrying an assembled bow around carelessly makes you suspicious and may attract the attention of the police. With a disassembled bow, you will avoid this type of unwanted attention.
- You want to explore the components of your bow. Some archers disassemble their bow after competitions simply as a part of their routine. By doing that, they can check the bow and its components, making sure there is no unexpected damage or issue with its parts.
TIP: Get a bow case to protect your bow and arrows from exposure to humidity or to protect it during transport.
If you are (dis)assembling a take-down bow for the first time, follow the instructions below. The process is not difficult and disassembling a standard bow usually takes up to 5-10 minutes.
Any Special Tools Needed?
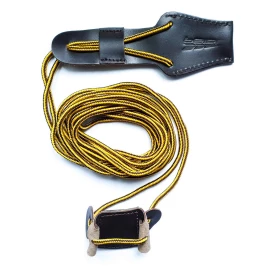
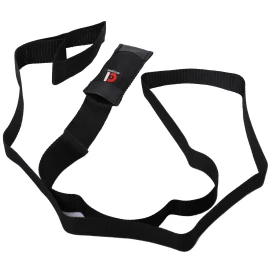
When disassembling a takedown bow, you usually don’t need any special tools. You only need a bow stringer - a device that makes stringing and unstringing your takedown bow or recurve bow much easier.
A bow stringer helps to bend the limbs evenly during stringing and unstringing. This prevents damage to the bowstring, which can occur when one of the limbs is bent too much. The bow stringer also protects the archer and prevents unwanted injuries.

Step-by-Step Instructions for (Dis)assembling Your Bow
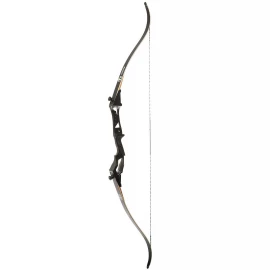
First of all, let's have a quick look at the bow components below.
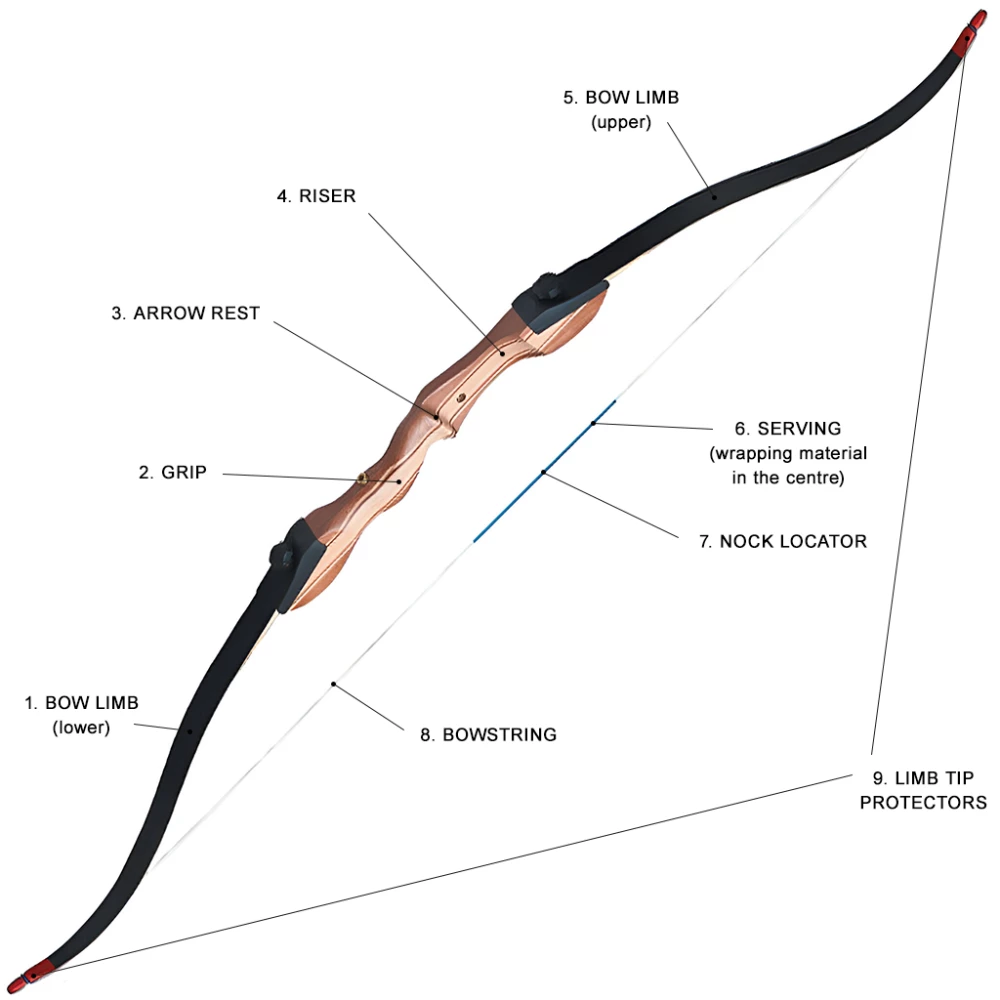
Description:
- Bow limb (lower)
- Grip
- Arrow rest
- Riser
- Bow limb (upper)
- Serving (wrapping material in the centre)
- Nock locator
- Bowstring
- Limb tip protectors
When disassembling the bow, follow these steps:
The first step of both assembly and the disassembly is stringing or unstringing the bow. Before pulling the string to its intended position, slide it over the bow tips and leave it loose. When removing the bowstring, it is important to handle it with care to prevent damage or injury.
A bow stringer is a useful device that helps with both of these tasks. We recommend using a universal bow stringer with larger pockets that can be used for both shorter and longer bows. Instructions on how to string your bow:
Step 1: Place the pocket of the bow stringer over the tip of the lower limb, with the bowstring already loosely on.
Step 2: Place the other end of the bow stringer over the upper limb, slightly lower than the end of the bowstring. (If you do this for the first time, try putting on the bow stringer several times before pulling up the bowstring.)
Step 3: With one hand, lightly hold the bow stringer at the upper limb, then grab the centre of the bow with the other hand. Step into the centre of the bow stringer, and pull the bow up slowly until the limbs are bent.
Step 4: When the bow is bent, slide the loose end of the bowstring into the nock. This is how you string your bow in a safe way. When unstringing your bow, simply follow the same steps in reverse order.
If you prefer a video, you can watch the one below:
Next, you can remove the bow limbs. They are attached to the riser with two screws on each side.
Step 5: The shape and size of the screws may vary depending on the bow model. If the screw heads are larger, they can be easily unscrewed using only your fingers.
If the screws are smaller in size and cannot be unscrewed by hand, use a hex key, for example. Apply equal pressure to both screws to avoid damaging the thread. Excessive force may also damage the structure of the limb. It is always better to use a small L-shaped hex key rather than a ratchet and bit set.
Step 6: Once the screws are loose enough, slowly remove them and store them in a safe place where you can find them again.
TIP: While checking the bow is essential, you should regularly check your archery accessories as well, such as archery targets, arrowheads or bowstring wax - if you are a fan of archery, those things are a must-have!
Does Your Bow Need Assembling? We Have a Few Tips!
When assembling your bow, just follow the same steps as when disassembling it - just in reverse order. Additionally, we have a few tips for you to make the task easier:
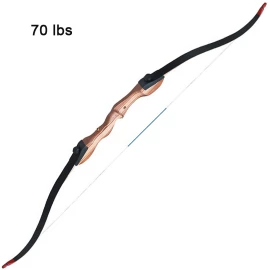
How to tell which bow limb is the upper limb and which is the lower limb: On the bottom side of the lower limb, you will usually find a label or information about the technical parameters (for example, the bow length). And that is an easy way to identify the lower arm.
How to tell which end of the bow string is the bottom end: Look at the size of the loops. The loop on the top of the string is always bigger. In the case of takedown bows, the size of the loops is usually different and it is easy to tell which one is the bigger one. The same is true for longbows, although the difference between the loops can sometimes be smaller so the loops can be harder to tell apart.
To watch the process of disassembly, watch the video below:
Still not sure what to do? Contact us. We are happy to help with the (dis)assembly or the choice of any spare part for your bow!
Comments